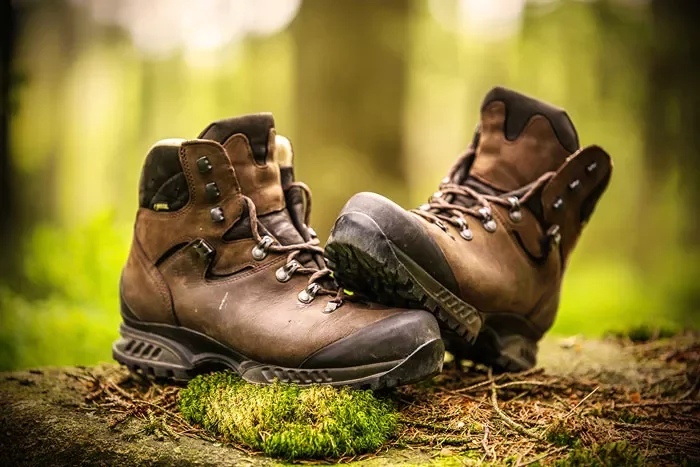
The question of how to lace up hiking boots properly doesn’t have a single solution. In fact, in most cases, the way your hiking boot is laced out of the box after purchase will not be the best lacing technique for you. Knowing how to lace up hiking boots for your unique foot dimensions could just be the trick that not only relieves your foot discomfort on the trail but gives your hiking boots a second life.

Lacing Teqhniques And Knots By Foot Type
Window Lacing, or Box Lacing
This lacing technique is good for those with high insteps, wide feet and/or high arches. It helps relieve discomfort from foot swelling. Specifically, this technique allows you to lace up hiking boots in a way that relieves any pressure or discomfort you feel along the top of your foot.
The Technique:
- Identify the point on your foot where you feel pressure.
- Unlace your boots to the eyelets just below that pressure point.
- From there, lace your boots vertically until you reach the eyelet directly above your pressure point. This skips the back-and-forth lacing pattern over the section of your foot feeling pressure.
- Once you reach the eyelet above the pressure point, go back to lacing your boot with the normal diagonal lacing pattern.
The Surgeon’s Knot, or Double Overhand Knot
This lacing technique is good for those with feet, with little or no arch and/or narrow feet.
The surgeon’s knot, or double overhand knot, is not so much a technique to lace up hiking boots as a knot. This knot’s used in strategic places to help maintain constant tension at the points where your foot might otherwise feel too loose or too snug.
Backroads Pro Tip
The surgeon’s knot technique is great for allowing your foot to move naturally—without causing excessive pressure or blister-inducing irritation.
The Technique:
- Unlace your boot down to the start of your metatarsal area, or the top of your foot. This is just below where your foot begins to flex forward to become your ankle.
- Make sure the laces over this metatarsal area are pulled snug.
- Before lacing your boots again, make a surgeon’s knot with the laces by crossing your laces around each other twice.
- Thread the laces through the next eyelet to lock in the tension from the knot. Repeat the surgeon’s knot one more time after the next eyelet.
- Again, thread the laces through the next eyelet to lock in the tension, and continue lacing your boot with the normal diagonal lacing pattern.
Heel Lock Lacing
This lacing technique is good for those who suffer from heel slippage, blisters and toe pain or those who have narrow ankles.
The heel lock lacing technique will help keep your heel from lifting in the boot and, thus, prevent any uncomfortable rubbing or friction that often leads to heel blisters.
The Technique:
- At the eyelet where your foot begins to flex forward, create a loop between two eyelets by lacing vertically up the boot.
- Pass each lace through the loop on the opposite side, coming through it from above.
- Continue lacing your boot using the normal diagonal lacing technique.
Backroads Pro Tip
For low-cut hiking shoes, you can make the loop at the double eyelet at the top of the shoe and then pass each lace through its opposite loop before tying your shoe.
Experiment With Different Ways To Lace Up Hiking Boots
Whichever lacing technique you think might be right for you and your unique foot dimensions, it’s always a good idea to try it on for size first. Lace up and go for a walk around your neighborhood, or simply wear your boots around the house. If you do encounter any issues with a specific lacing technique then try multiple techniques until you find the ideal one for you.


